
Laundry feels harmless because it repeats, and repetition invites autopilot. A dryer, though, is a small heat-and-air machine that moves hot, moist air through narrow pathways. When lint builds up or a duct gets pinched, the dryer compensates by running longer and hotter, and the warning signs can look like nothing more than a slow Tuesday.
Most clues are ordinary: damp clothes at the buzzer, a warmer room, a faint musty note, or a flap outside that barely opens.
The checks below target the spots where airflow narrows and vibration loosens connections. Done monthly, they keep laundry boring in the best way, with fewer surprises.
Clean the Lint Screen Every Load

The lint screen is the first choke point, and it affects everything that follows. A thick mat blocks airflow, traps moisture, and forces the dryer to run longer while heat builds in the drum and cabinet. Clothes may come out hot, yet still feel heavy or slightly damp, which tempts a second cycle and adds more wear to the heater, motor, and thermostat.
Residue matters too. Dryer sheets and softener can leave a waxy film that seals the mesh even when it looks clean.
Clear the screen every load, and wash it with mild soap and water when it feels slick. Rinse well, dry it fully, and keep a spare screen if the frame is cracked.
Vacuum the Lint Screen Slot and Housing

A clean screen does not guarantee a clean airway. Fine fibers slip past the edges and settle in the slot and housing, slowly narrowing the channel where warm air should move. Over months, that hidden layer behaves like a soft plug, stretching dry times, raising cabinet temperature, and leaving the room feeling humid after a cycle.
A flashlight aimed into the slot often reveals fuzzy ledges that a quick wipe cannot reach, especially in the back corners.
Use a narrow vacuum attachment or lint brush to clean the slot walls and the cavity below. Do it monthly, and anytime bulky bedding or pet-heavy loads start drying noticeably slower.
Confirm the Vent Material Is Rigid or Semi-Rigid Metal
Vent material shapes how lint behaves. Foil and thin plastic-style flex ducts sag, tear, and hold lint in the ridges, especially when the dryer is pushed back and the run gets compressed. Those pockets also hold moisture, so buildup sticks and grows, slowly narrowing the airway and stretching drying times.
Rigid or semi-rigid metal stays round, resists crushing, and gives lint fewer places to cling, even after the dryer is moved.
If the vent looks like shiny accordion foil, plan an upgrade. A smoother metal run improves airflow, makes cleaning easier, and reduces the chance of hidden clogs forming in sagging sections over time.
Track Drying Time Changes and Excess Heat

Drying time is an early warning gauge. When a normal load starts needing extra time, the dryer is compensating for restricted airflow, a dirty sensor, or worn parts, and that extra work creates extra heat. Clothes may come out hotter than usual, yet still damp in seams and waistbands, which tempts a second run and doubles the stress.
Notice the room too. A warmer, more humid laundry area often means exhaust is not leaving cleanly.
Treat time changes as a prompt to check the vent path, the lint system, and the outside hood. If the pattern persists after cleaning, a technician can test components before strain spreads further.
Vacuum Lint Behind and Under the Dryer
Lint does not stay politely inside the machine. It drifts behind the dryer, settles under the base, and collects along baseboards where warm air circulates during cycles. In tight laundry closets, that layer can build fast, especially with pets, and it can get pulled toward the vent joint where turbulence drops fibers.
A flashlight behind the unit often reveals a soft blanket that a quick sweep misses.
Vacuum the floor, corners, and the area around the vent connection. Wipe the wall plate if it is dusty. Keeping that zone clean makes it easier to spot moisture, a loose clamp, or a duct that shifted after vibration early on.
Keep the Area Around the Dryer Clear

Laundry rooms become storage zones by accident. Boxes, detergent jugs, spare linens, and hangers crowd the dryer, block ventilation gaps, and make quick inspections harder than they should be. Clutter also traps lint in warm corners and hides small changes like a vent joint that slipped or a damp patch forming behind the unit.
A clear perimeter makes maintenance feel easy instead of annoying, which is the whole point.
Keep the top and sides free, leave space behind for the duct to sit naturally, and avoid pushing items against the vent hood outside. Less clutter usually means cooler cycles, cleaner floors, and fewer surprises.
Inspect the Power Cord, Plug, and Outlet
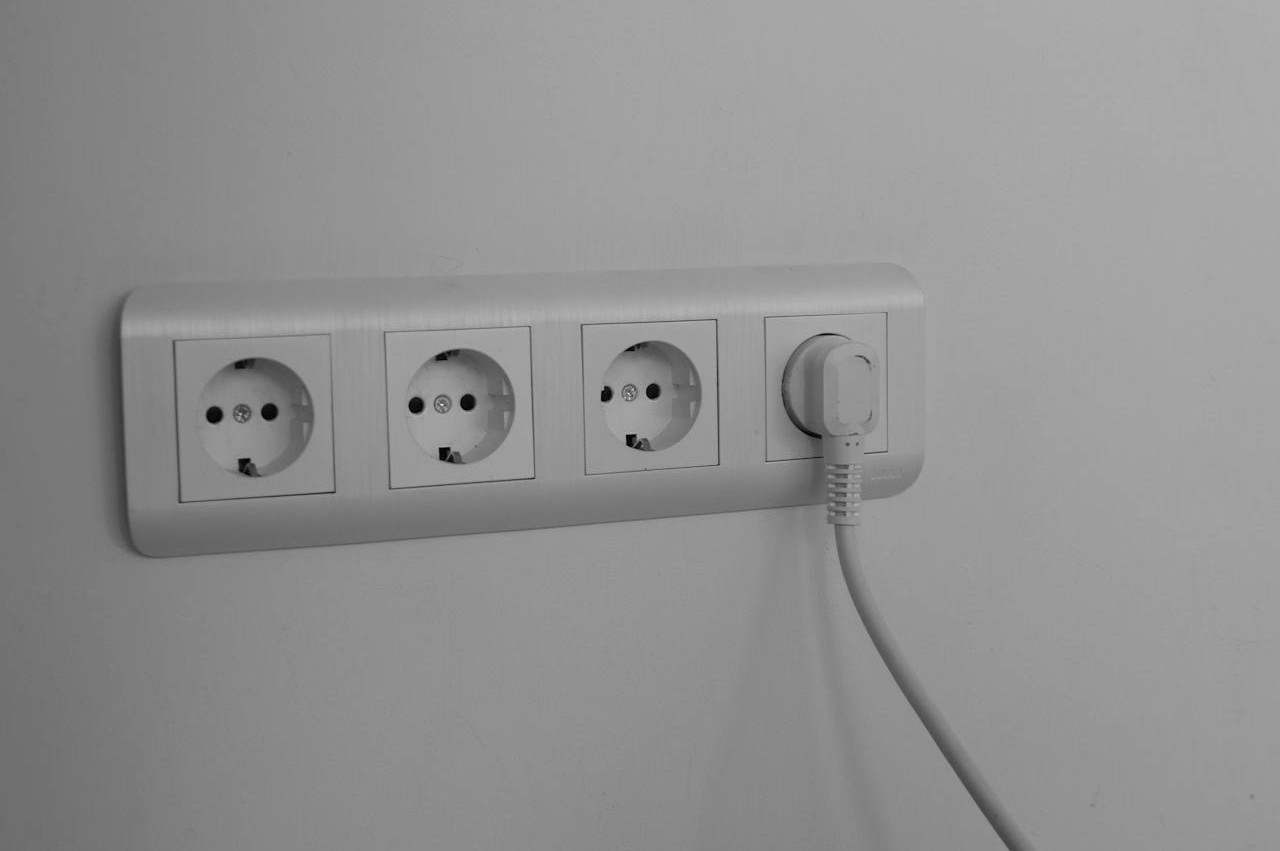
Dryers draw heavy current, so weak electrical connections often show up as heat. A loose plug, a wobbly receptacle, or discoloration on the outlet face can signal resistance, and resistance turns into warmth at the connection point after every cycle. Flickering lights, a buzzing sound, or a breaker that trips under load are all clues that the circuit is not happy.
After shutoff, the plug and cord should feel normal, not hot, and the cord should not be pinched.
If warmth repeats, breakers trip, or a sharp electrical odor appears, stop using the dryer and call an electrician. It is a quick fix early, and a bigger problem if ignored.
Listen for New Noises and Friction
New noises are often the dryer’s first honest warning. Squealing can point to worn rollers or a tired belt, thumping can hint at drum supports, and grinding can suggest motor strain. These issues add friction, and friction adds heat and vibration, which can loosen vent joints and shake lint into places it should not be.
A machine that suddenly gets louder is usually working harder than it should, even if clothes still dry.
Pause use if the sound is new or sharp, and schedule service before parts wear further. Small mechanical fixes are often straightforward, and they can prevent longer cycles, extra heat, and a drum that starts to wobble.
Make Sure the Dryer Is Level and Not Walking

A dryer that rocks or creeps during a cycle is more than an annoyance. Movement can pinch the vent, stress the cord, and rattle clamps until airflow drops. It also wears belts and rollers faster, which adds friction and stretches cycle times. If the machine walks, the duct behind it may kink on every load, and the exhaust collar can loosen enough to leak air.
Check with a level or a push test. The cabinet should feel planted, not springy, and the drum should sound steady.
Adjust the feet until all corners sit firmly. Once the dryer stays put, vents kink less often, parts wear more evenly, and the whole system runs cooler and quieter.
Avoid Drying Items With Solvent or Oil Residue

Some loads belong outside the dryer, at least at first. Work rags and mop heads can hold traces of solvents, fuels, or heavy oils deep in the fibers, even after washing, especially when the fabric is thick. High heat can intensify odors and create unpredictable results inside a closed drum where warm air is circulating.
The safer routine is to air-dry those items first, then wash thoroughly, and only then consider machine drying on low heat.
Keep those loads separate from everyday clothing and towels. It reduces uncertainty, protects the dryer from residue, and keeps the machine reserved for fabrics that behave predictably.
Gas Dryer: Check for Odors and Keep the Shutoff Accessible
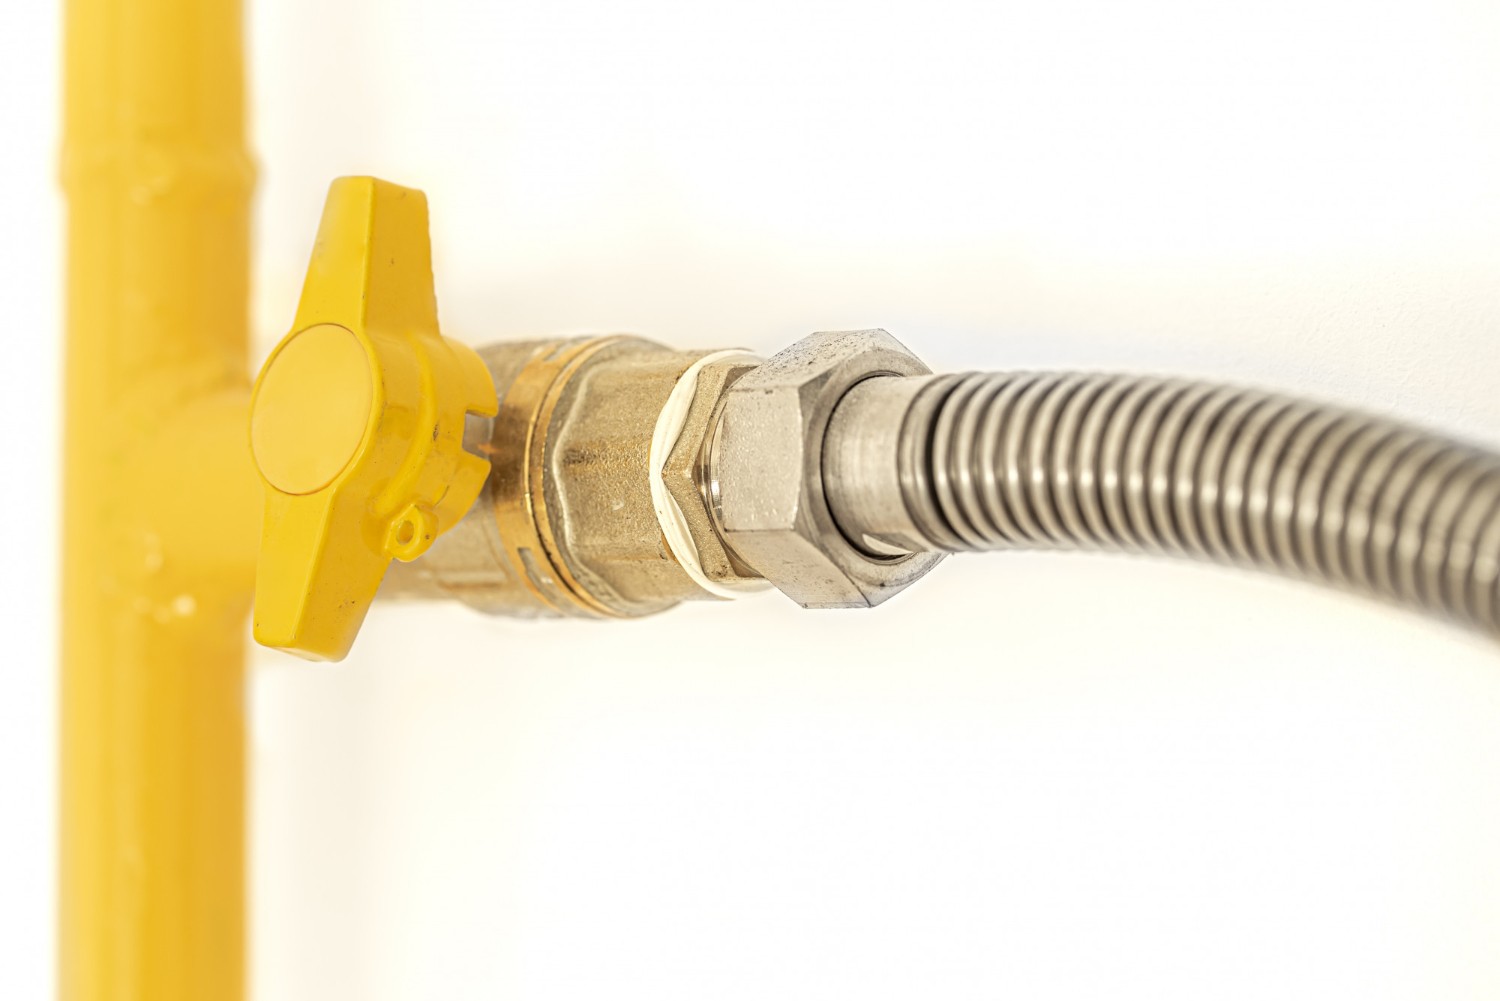
Gas dryers add a few extra checks because safe heat depends on secure connections and clean exhaust. A persistent gas odor, soot-like dust near the vent, or uneven heating should be treated as a stop-and-call moment, not something to run through. Even small issues can worsen when the dryer vibrates and cycles heat repeatedly.
The shutoff valve should be reachable without moving storage, and the flexible connector should not be kinked or under tension.
Keep the venting just as clean as an electric model. Clear airflow helps the burner run predictably, reduces moisture buildup, and keeps the laundry room from feeling stuffy after a cycle.
Verify Alarms Nearby and Choose Safer Run Times

Dryers are often used in the background, which is why small changes can slip by. A working smoke alarm near the laundry area adds a layer of protection when attention is elsewhere, especially in basements, garages, or closed closets where heat and odor are noticed later. It is a simple backstop when routines get busy.
Run timing matters too. Cycles finished while someone is home and awake are easier to notice if something smells off.
Choose day or evening runs, not overnight. That habit shortens response time, makes vent checks easier, and keeps laundry from turning into a late surprise when the room feels too warm or damp.