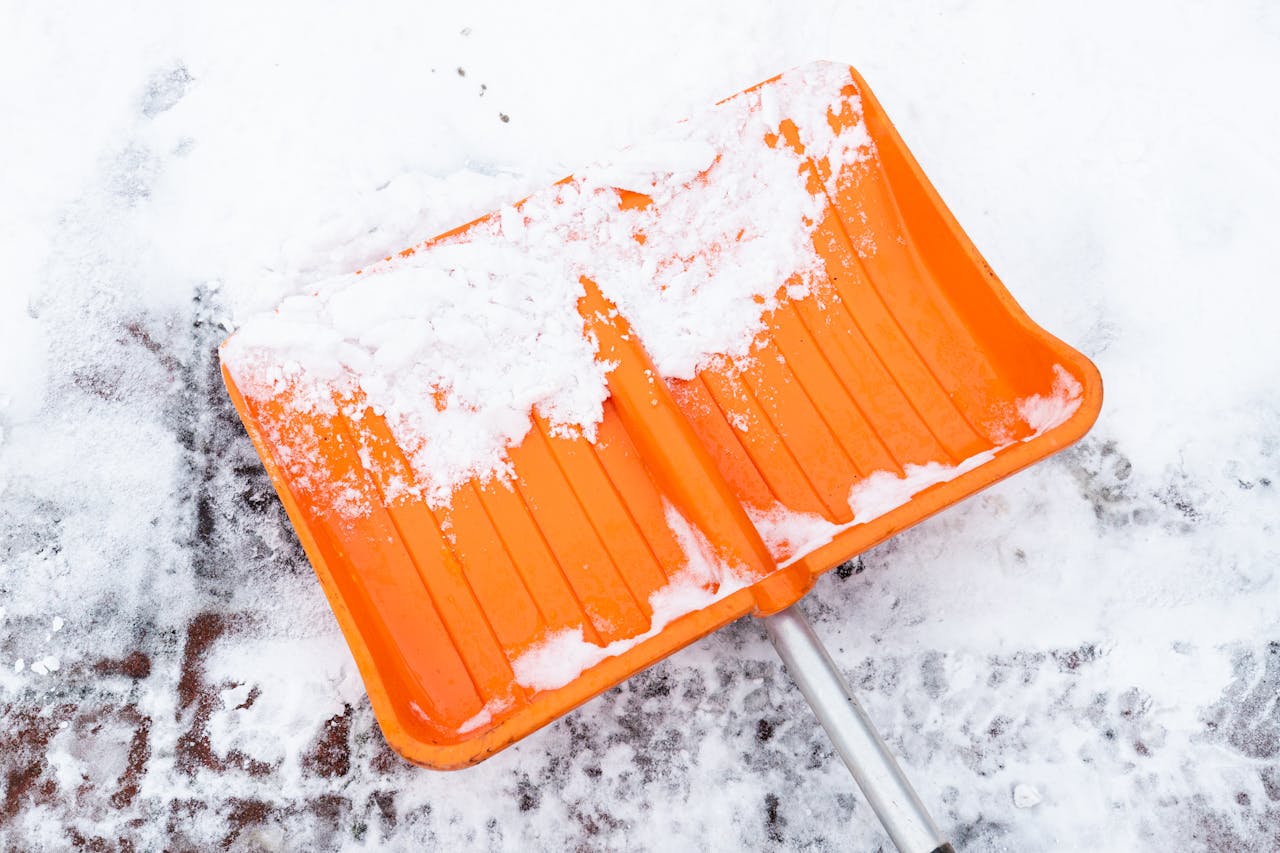
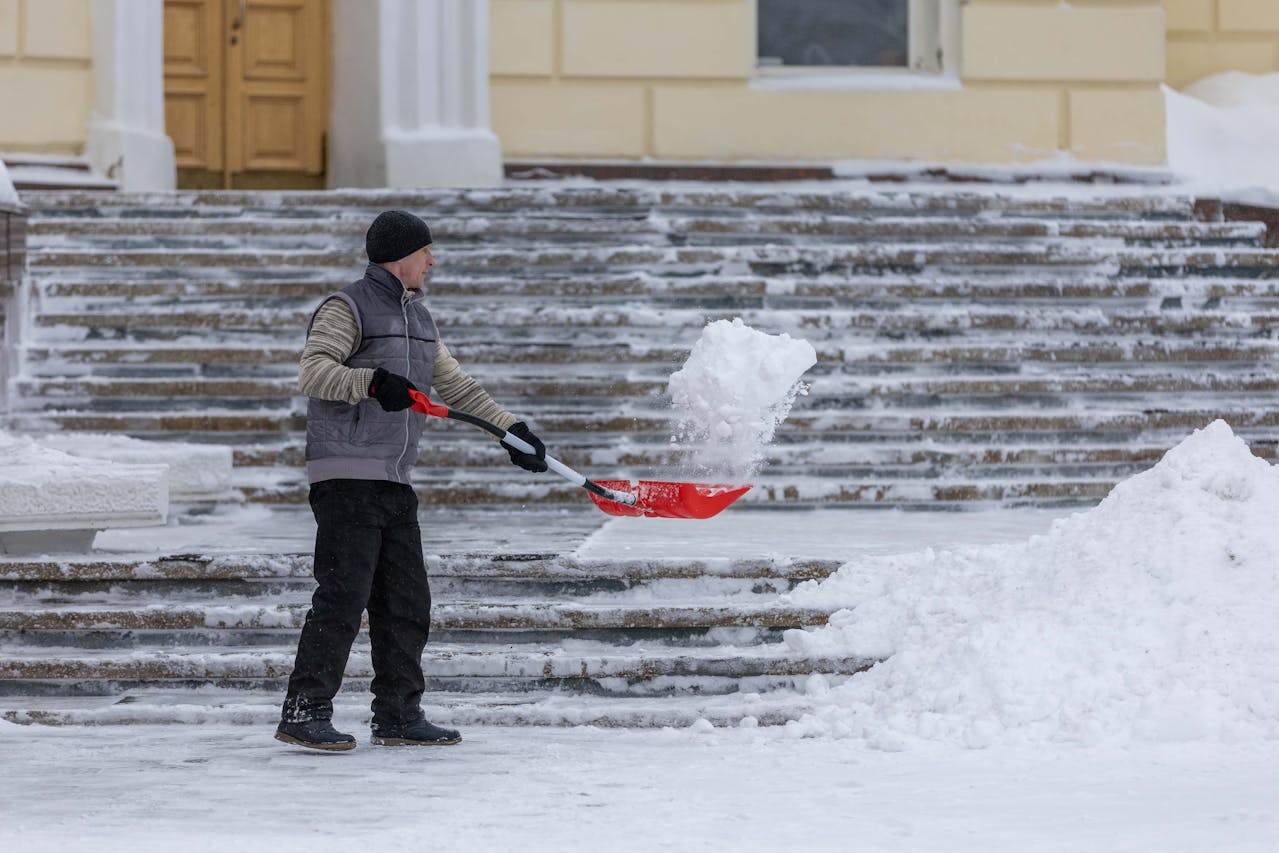
Heavy, wet snow turns a simple chore into a grinding workout. The blade grabs slush, each scoop carries extra weight, and the pace falls apart once snow starts sticking like paste. Snow removal crews keep a small, practical shortcut for those nights: a thin mist of cooking spray on the shovel blade. Done right, it helps the snow slide off instead of piling up. Done wrong, it leaves oil where it should not be and the whole job feels worse. The difference is discipline: a dry, cold shovel, a light coat, and zero overspray on walking surfaces. It is less about a miracle hack and more about removing one stubborn point of friction.
Why Wet Snow Turns Shovels Heavy
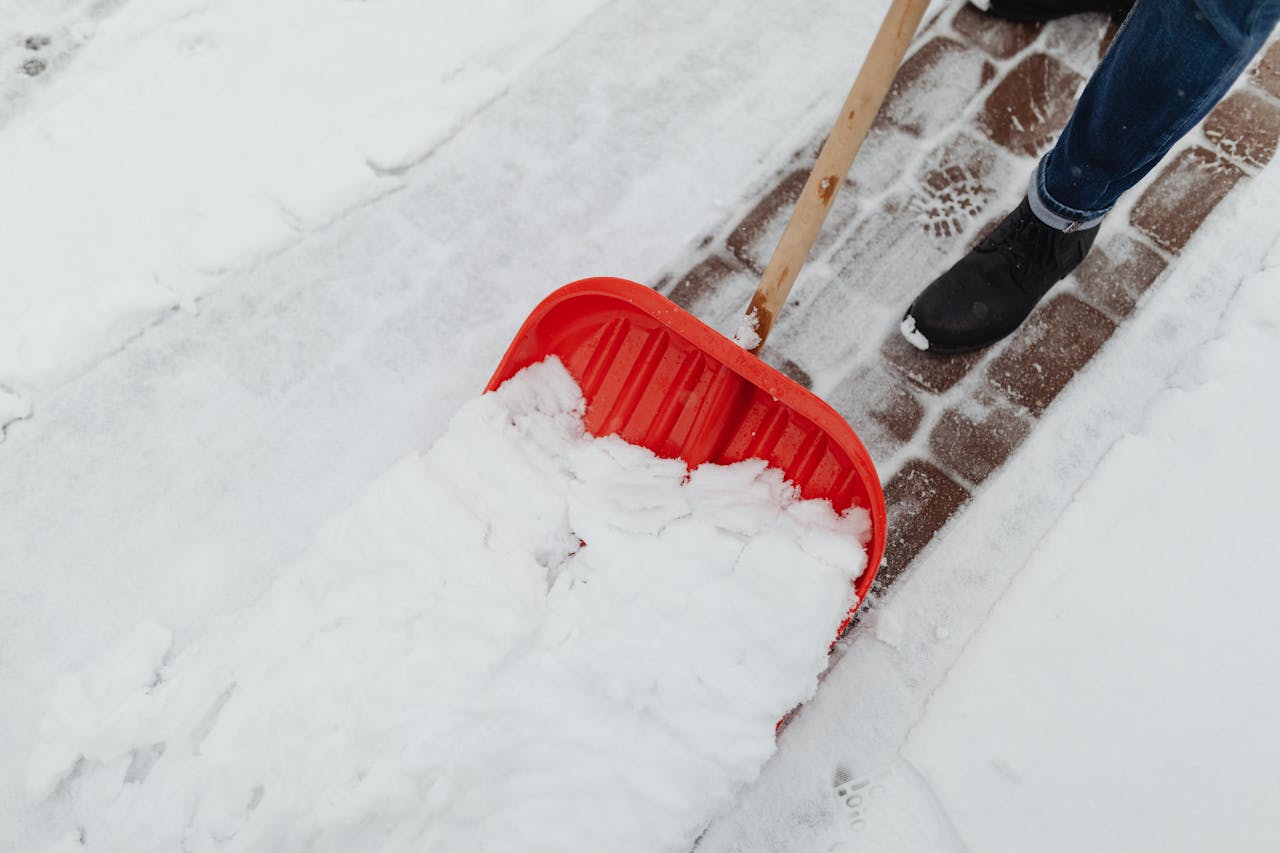
Wet snow near the freezing mark behaves like glue. It smears across plastic or metal, then bonds to the next scoop, quietly turning a normal load into a heavier one. Crews watch for snow that looks glossy, clumps on impact, and packs fast, because that is when scraping the blade steals more energy than lifting.
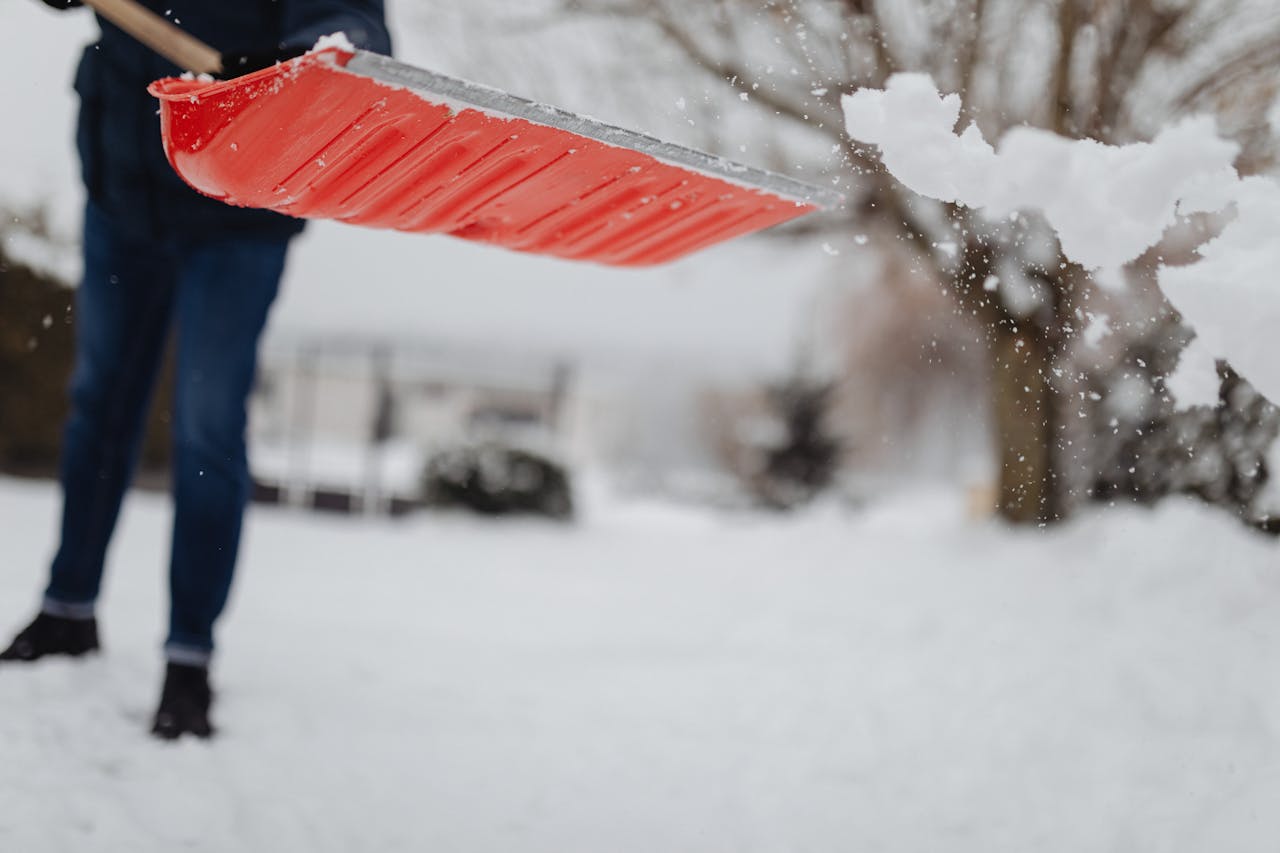
The spray trick works only because it interrupts that bond. A thin, even film makes the blade slick enough that slush slides off early, so each scoop stays closer to its true weight instead of carrying extra snow that never needed a ride. A steadier rhythm means fewer stop-and-knock moments that strain wrists and shoulders.
What the Cooking Spray Film Actually Does
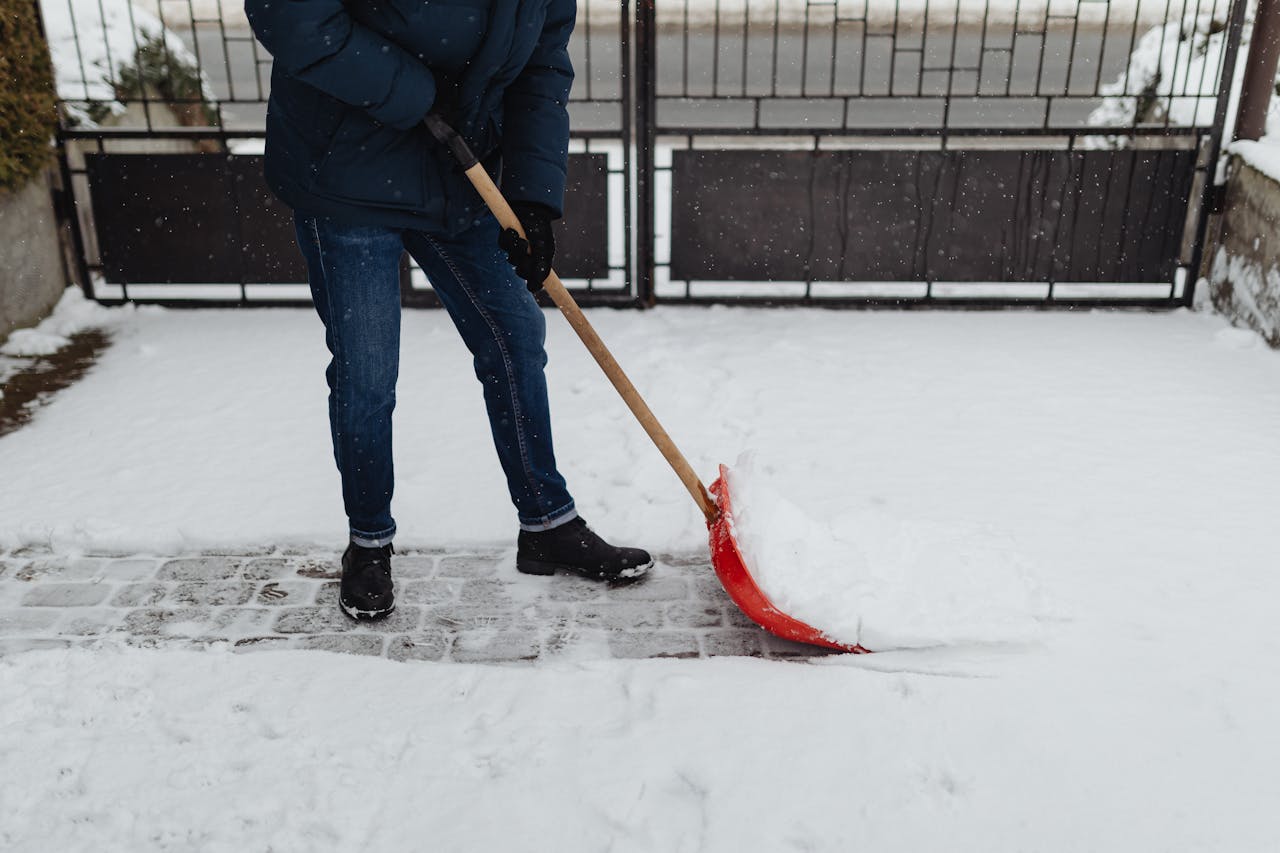
Cooking spray is basically oil in a fine mist, and that matters because the goal is coverage, not soaking. A light coat creates a slippery layer that keeps wet flakes from grabbing the blade and stacking into a brick. Pros like it because it is fast, cheap, and easy to refresh when conditions shift. It will not erase the work, but it can cut the scraping.
The trick fails when the coating turns heavy. Drips collect grit and salt, then smear into a tacky film that can make slush cling again. Crews treat it like seasoning: front and back of the blade, one thin pass, then back to work without turning the shovel into a greasy mess.
Start With a Dry, Clean Blade
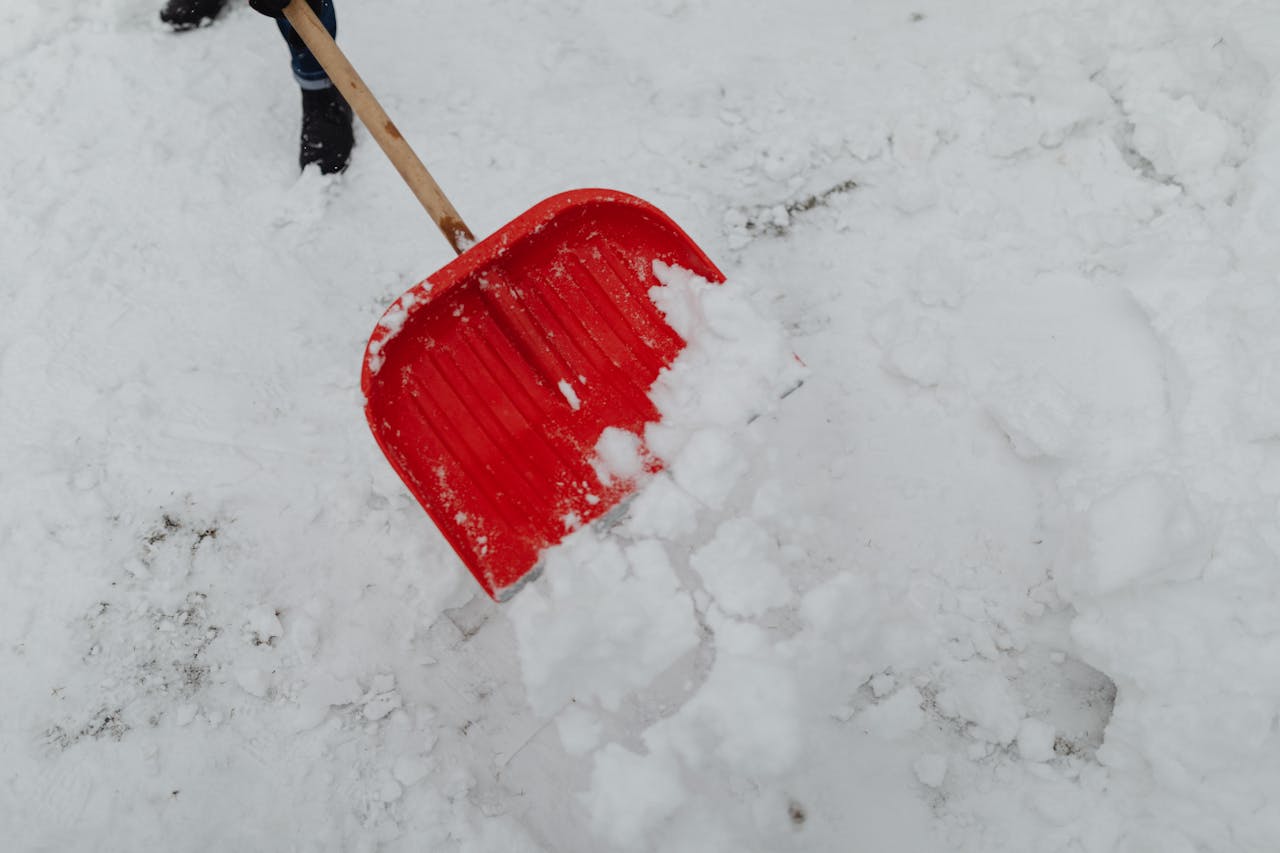
Pros start with a dry blade for a simple reason: water under oil ruins the slip. If the shovel is damp from old snow or melt, the spray spreads unevenly and the next scoop sticks in patches, which feels like the trick never worked. A quick brush-off and wipe-down resets the surface, especially along the leading edge where snow compacts first.
Cold helps, too. If the shovel came from a warm garage, the first contact can melt snow into a thin film that grabs slush. Crews often set the shovel outside for a few minutes, keep the can close to the blade, then spray lightly and begin while the surface stays cold and clean longer.
The One Mistake That Ruins It: Over-Spraying
The mistake that ruins the trick is over-spraying. A blade that looks wet invites drips, and drips collect sand, salt, and driveway grit, turning clean oil into a smeared paste. Once that film builds, the shovel can start grabbing slush again, and the mess spreads to gloves, jackets, and door handles.
Crews aim for a barely-there coat. One quick pass on the front and back is enough, then the shovel is angled down for a moment so any excess falls away instead of pooling in a shiny stripe. If clinging returns, the fix is another light mist, not a soak that slicks everything nearby. Less oil keeps control tight and cleanup simple.
Never Let the Spray Touch Steps or Walkways
Pros are strict about where the spray goes, because oil and hard surfaces do not mix well in winter. A stray mist on steps, pavers, or a garage threshold can leave a slick patch that is hard to see under fresh snow. That is why crews never spray toward the ground, even for a second.
The habit is distance and angle. The shovel blade is held low, pointed at a snowbank or an open area, and the can stays close so the mist lands on the blade, not the walkway. Crews step off the route first, spray, then set the can down before lifting again. If overspray happens, it gets wiped fast and covered with grit before foot traffic returns.
Reapply Early, Not After It Fails
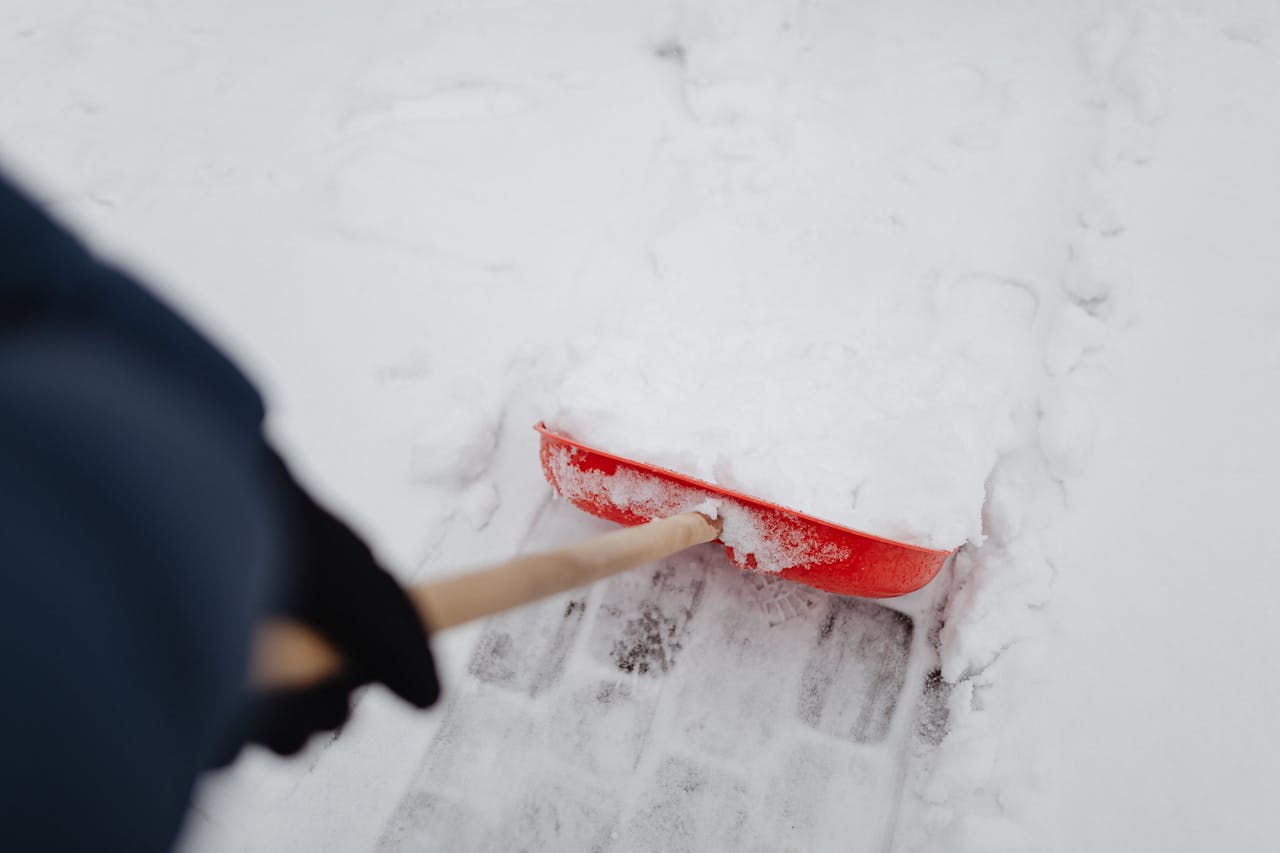
Cooking spray is not permanent, especially in wet snow that rubs grit across the blade. The film wears away as the shovel scrapes pavement and packed edges, so sticking returns in stages: first a smear, then a clump that adds weight. Pros watch for that early signal and refresh before the blade is fully gummed up.
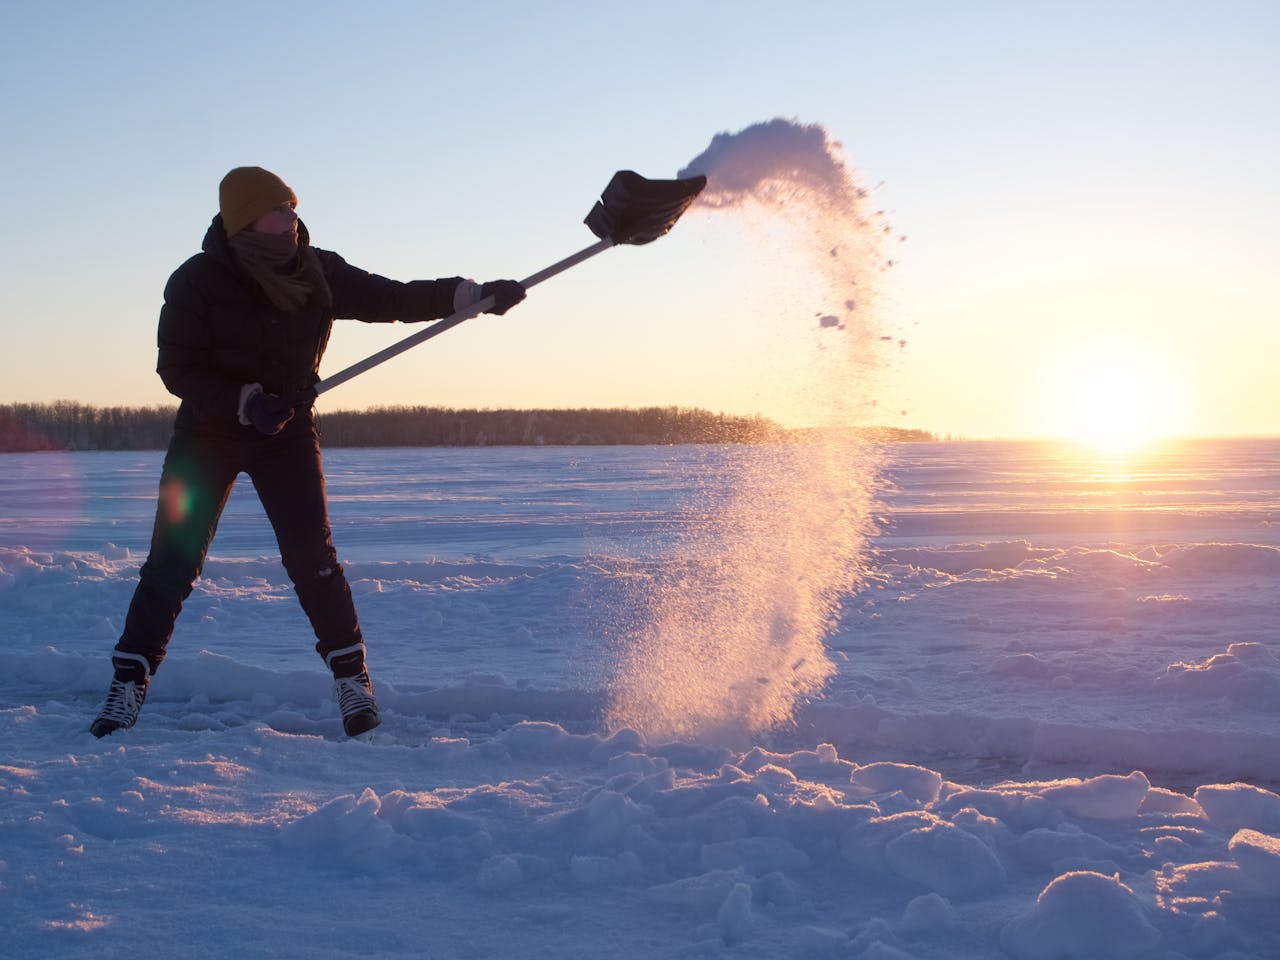
The recoat is quick and controlled. Crews pause in an open spot, keep the nozzle close, mist the blade once, and get moving again. Wind matters, so the can stays low to limit drift onto boots or handles. Spraying often is fine when each coat stays thin, because thin coats shed snow, while thick coats collect grime.
Keep the Handle Clean for Better Control
A slick blade is helpful, but a slick handle is a problem. Overspray on gloves or grips can make the shovel harder to control, and it spreads oily prints to coats, railings, and door knobs during repeated trips inside. Crews treat clean hands as part of the technique, not a bonus.
The fix is simple: spray with the blade angled away from the body, and keep the can aimed low so the mist hits only the working surface. The can gets set down before lifting, so rushing does not turn into a slippery grip. Some crews carry a rag in a pocket to wipe the handle fast, because good traction keeps movements steady and reduces awkward slips.
Clean the Blade Afterward So It Works Next Time
The shortcut holds up longer when the blade is cleaned after the storm. Cooking spray can attract grit once the work ends, and that residue dulls the surface, making the next round stickier than it should be. It can also leave oily marks on decks, garage floors, and storage hooks.
Crews wipe the blade with a rag or rinse it quickly, then dry it before putting the shovel away. Many store it in an unheated spot so the blade stays cold, not tacky. A clean, cool shovel accepts the next thin coat evenly, which is the whole point of the trick. The final step is boring, but it keeps the method reliable through a long winter stretch.