There was a time when a trip to Macy’s didn’t end at the register. You could walk a few steps farther and watch a pro transform a simple box into something almost too pretty to open. Crisp seams, tucked corners, and a ribbon that sat perfectly on top made the whole thing feel like theater. That counter is gone in most stores now, but the feeling it created is something you can absolutely recreate at home.
What made those counters special wasn’t just skill. It was the sense of ritual. Gifts weren’t rushed through; they were treated with respect, whether it was a tiny jewelry box or a bulky sweater stack. A former Macy’s gift-wrap expert like Belle Wesel didn’t rely on magic, just repeatable steps, good tools, and a clear order of operations. Bring that mindset to your dining table, and you can revive the old-school department-store magic one box at a time.
Recreating The Magic Of The Macy’s Counter
Think of your wrapping space as your own little service counter. Clear a flat surface, gather everything you need, and treat the process as part of the gift, not an afterthought. The goal is to slow down enough to enjoy the folds and creases. That calm focus is what made watching the Macy’s staff so satisfying in the first place and what you’re trying to echo at home.
The other key is consistency. At the old counters, every box came out looking like it belonged in the same display, no matter who was behind the table. You can recreate that by sticking to a simple system: similar papers, similar ribbon styles, and the same wrapping method for every box. Once your hands learn the sequence, your results start to look quietly professional without feeling stiff or overdone.
Stocking Your Own Little Wrap Station
Before you fold a single corner, set yourself up like a pro. Pick one or two sturdy wrapping papers with a bit of weight to them so they don’t tear when you pull them tight. Subtle grids printed on the back make cutting straighter and measuring easier, which is exactly why so many department stores favored them. Heavy paper is more forgiving and hides small mistakes that thinner sheets would highlight instantly.
Next, give odd-shaped presents a home. At Macy’s, almost everything ended up in a box because boxes are easier to wrap cleanly. Slip soft items, toy sets, or bundles of small gifts into simple shirt boxes or cube boxes. Taping the lids shut is helpful but not absolutely necessary; what matters is that the box sides are firm and square so your paper has something solid to hug.
Then, look at your tools. A sharp pair of scissors is nonnegotiable if you are tackling more than one gift. Comfortable handles keep your hands from cramping halfway through a pile of packages. Clean scissors glide through paper and ribbon instead of chewing them, which means smoother edges and less fraying when you trim your bows.
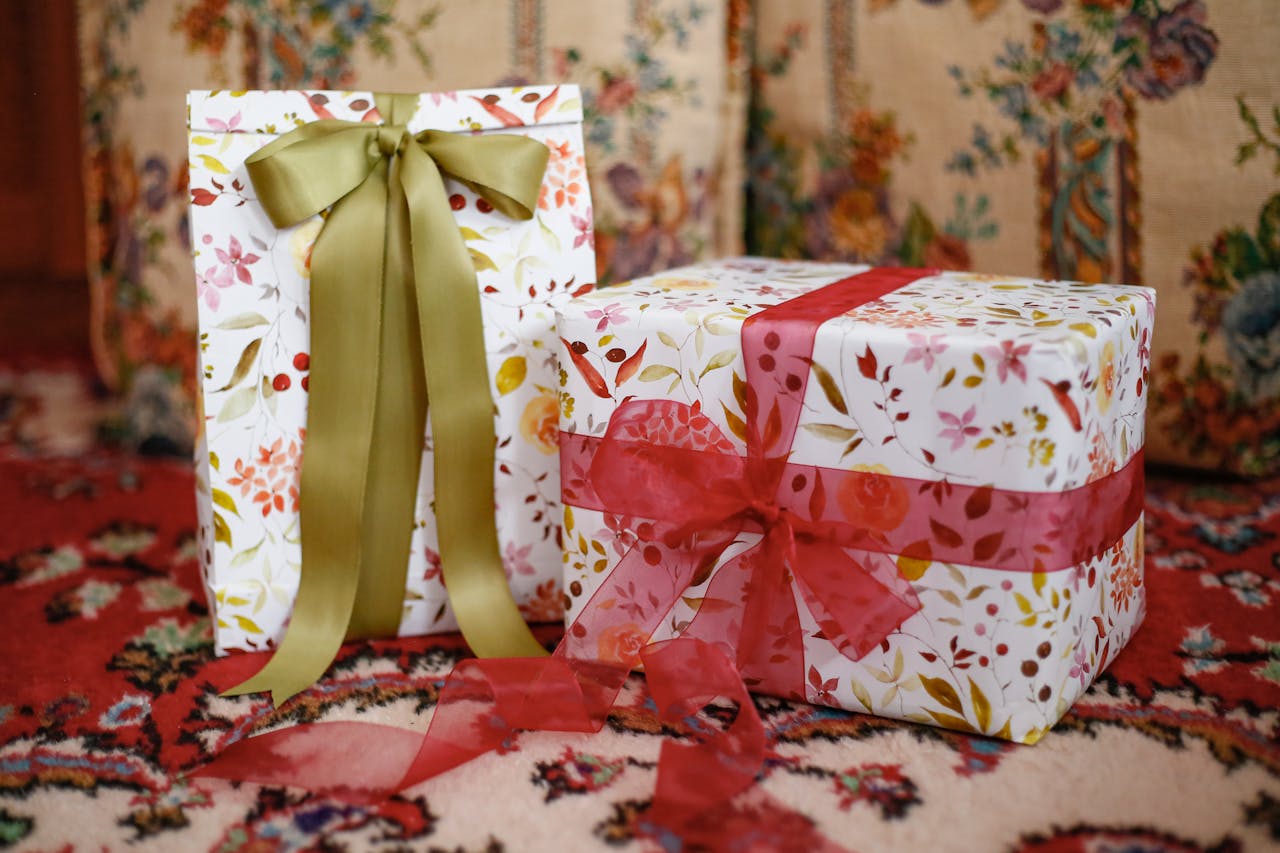
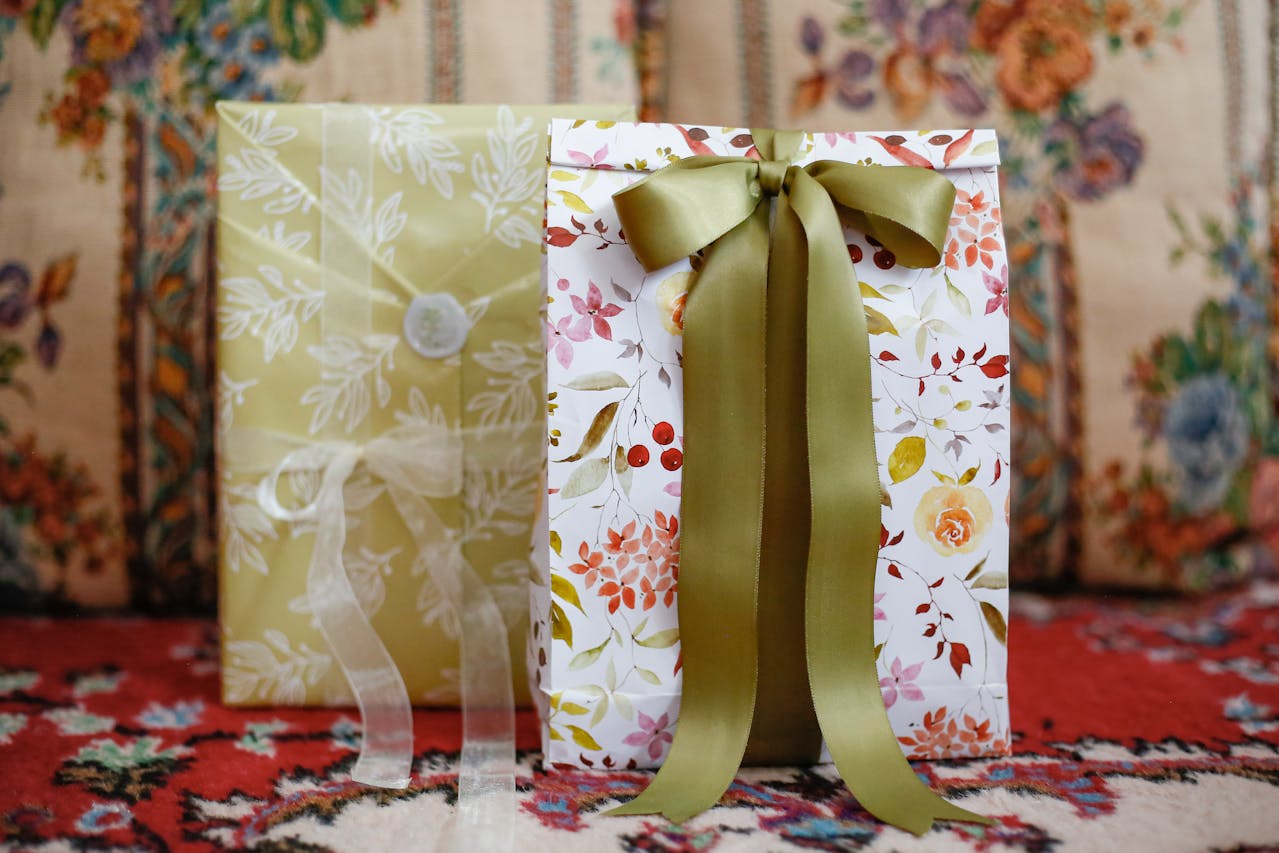
Finally, invest in double-sided tape and ribbon with personality. The tape hides inside the folds and seams, so nothing distracts from the pattern of the paper. Ribbons can be satin, grosgrain, or even twine, layered or simple, but commit to a small palette so your stack of finished gifts looks cohesive, the way those counter displays always did.
Prepping The Box And Measuring The Paper

Once your tools are ready, place the box facedown on the unrolled paper. Leave the paper attached to the roll for now so you have plenty to work with. You want enough on each long side to cover the height of the box with a little extra for overlap. This simple habit prevents that sinking feeling when you realize one side is somehow too short by an inch.
Cut along one side of the roll, staying as straight as you can, and pull the sheet free. Check that both ends of the paper reach at least halfway up the shorter sides of the box. If they go a little past, that’s fine; excess can be trimmed later. What you’re after at this stage is room to fold and shape, not perfection. Department-store wrappers always gave themselves a little margin to work with.
Wrapping The Long Sides Smooth And Tight
Stand on the same side of the table as the roll and pull the paper snugly up and over the far long side of the box. Your hands should smooth it as you go, pushing out any tiny air bubbles. Crease the edge of the box by pinching the paper between thumb and forefinger, then secure it with a strip of double-sided tape along the underside. That sharp crease is what starts the clean, tailored look.
Now unroll the paper toward you until it meets the wrapped edge. Cut it free, leaving about an inch of overhang. Fold that extra inch under to create a neat, straight edge, then run your fingers along the fold to sharpen it. When you tape this folded edge down over the first side, you end up with a seam that looks tidy instead of jagged, almost like a finished hem on fabric.
Press along the seam to anchor the tape and smooth the paper across the top once more. This is a good moment to check that nothing has shifted and that the box still feels centered inside the paper. If the sides feel a bit loose, gently tug and retape before moving on. A few extra seconds here save you from lumpy corners later and give you that crisp, counter-worthy finish.
Taming Those Open Ends
With the long sides done, turn the box so one open end faces you. Push the left and right edges of the paper inward so they collapse against the sides of the box. You will see four angled flaps appear almost automatically. Run your fingers along those diagonal lines to sharpen them; those creases are what guide the rest of the folding and keep everything aligned instead of puffy.
Once the flaps are defined, you’re ready to work with the top and bottom pieces of paper at that end. This approach is the same whether the box is tiny or bulky. The trick is not rushing. The pros at the old counters looked quick only because they had repeated these same motions thousands of times. You can move slowly and still end up with exactly the same geometry.
Folding Down, Trimming, And Tidying Corners
Fold the top flap of paper down over the end of the box. Crease it sharply along the top edge, then again where it meets the bottom edge. If there is more paper than you need, mark that lower crease with your fingers and trim along it with your scissors. This prevents lumps from forming when you press the paper flat and keeps the bulk from fighting against your tape.
Now pull the bottom flap up over the trimmed edge. Crease along the fold, add a strip of double-sided tape inside, and press it into place. The result should be a clean, flat end with no paper buckling out. Rotate the box and repeat this exact sequence on the other side. When you’re finished, run your pinched thumb and forefinger along every exposed edge of the box to sharpen the lines and seal the seams.
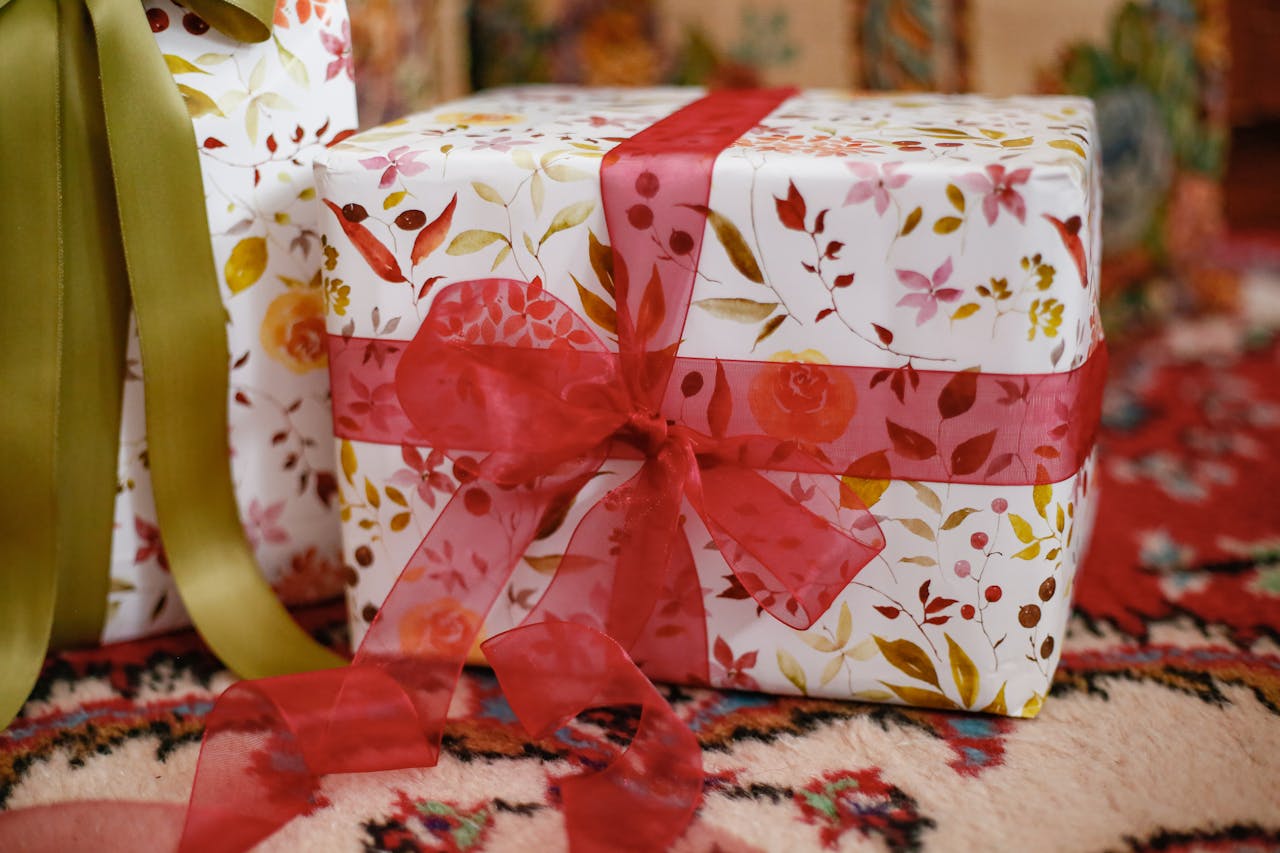
Adding Ribbon Like A Department-Store Pro
Lay a length of ribbon on the table that is about five times as long as the box and place the wrapped box facedown on top of it. Pull both ends of the ribbon up over the back of the box and cross the right end over the left, tugging gently so the ribbon hugs the package snugly. Turn the box so the crossed ribbon forms a neat line along the center rather than drifting to the side.
Flip the box over so the top faces you again. Slide each ribbon end under the band that now runs across the middle, feeding them in opposite directions. You should end up with two tails emerging from the center. Tie a firm double knot to anchor everything, then form a simple bow. Use your fingers to shape the loops so they sit full and rounded instead of collapsing flat.
For the final polish, pinch each ribbon tail lengthwise and cut at a shallow angle to create forked ends. That little detail is what keeps your bow from looking like a rushed afterthought. If you want to echo the department-store look even more, layer a thinner ribbon over a wider one or add a small tag tucked neatly under the knot instead of dangling off the side.
Keeping The Tradition Alive At Home
Once you’ve wrapped your first package this way, the next few will feel easier. You will start to remember how much paper you typically need for certain box sizes and where to place the box on the sheet so you are not constantly trimming. Over time, your stash of papers and ribbons may settle into a familiar palette, which makes your gifts instantly recognizable under any tree or on any party table.
The real magic, though, comes from the care you put into the process. Taking the extra minutes to crease, smooth, and tie with intention signals that the person on the receiving end matters to you. It’s a quiet, everyday way to recover some of the theater that once lived behind those Macy’s counters and to keep that tradition going at your own kitchen table, season after season.