Old styles cycle back for a reason. They are durable, fun to mix, and often budget friendly for DIY teens. From 1950s terrazzo to 1970s rattan, these looks return with modern paint, safer finishes, and smart lighting. You will see real dates, sizes, and materials to help plan a small room refresh or dorm corner. Measure first, then test colors on a 2 ft by 2 ft sample. Use low-VOC products and follow label rules. Small changes like hardware or peel-and-stick tiles can shift a room without major cost.
1. Terrazzo Surfaces

Terrazzo hit U.S. homes big in the 1950s, blending marble or glass chips in cement. Today, peel-and-stick sheets mimic the look for under $5 per square foot. Real terrazzo is long wearing, often lasting 40 years in schools and airports. Try it on a desk, tray, or backsplash panel cut to 18 inches. Seal real stone to resist stains. Safety note, wear a mask when sanding and use eye protection. Pair with plain walls so the speckled pattern stays the star, not visual noise.
2. Rattan and Wicker

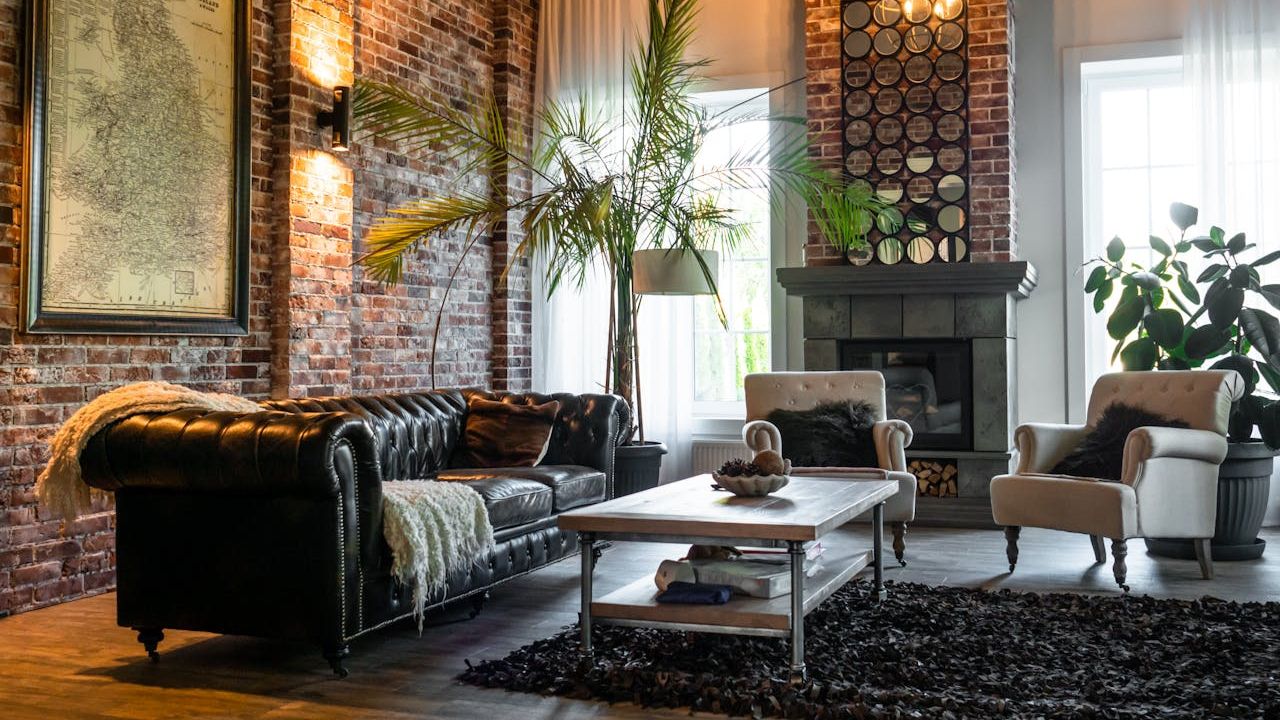
Rattan and wicker boomed in 1970s living rooms and porches. The material is light, flexible, and easy to move. A vintage chair often weighs under 15 pounds, perfect for small spaces. Modern stores sell sealed rattan that resists humidity better than old pieces. Keep it indoors, at least 3 feet from heaters. For style, add a 20 inch square cushion in cotton or linen. A single rattan headboard can anchor a teen room without repainting every wall.
3. Checkerboard Floors
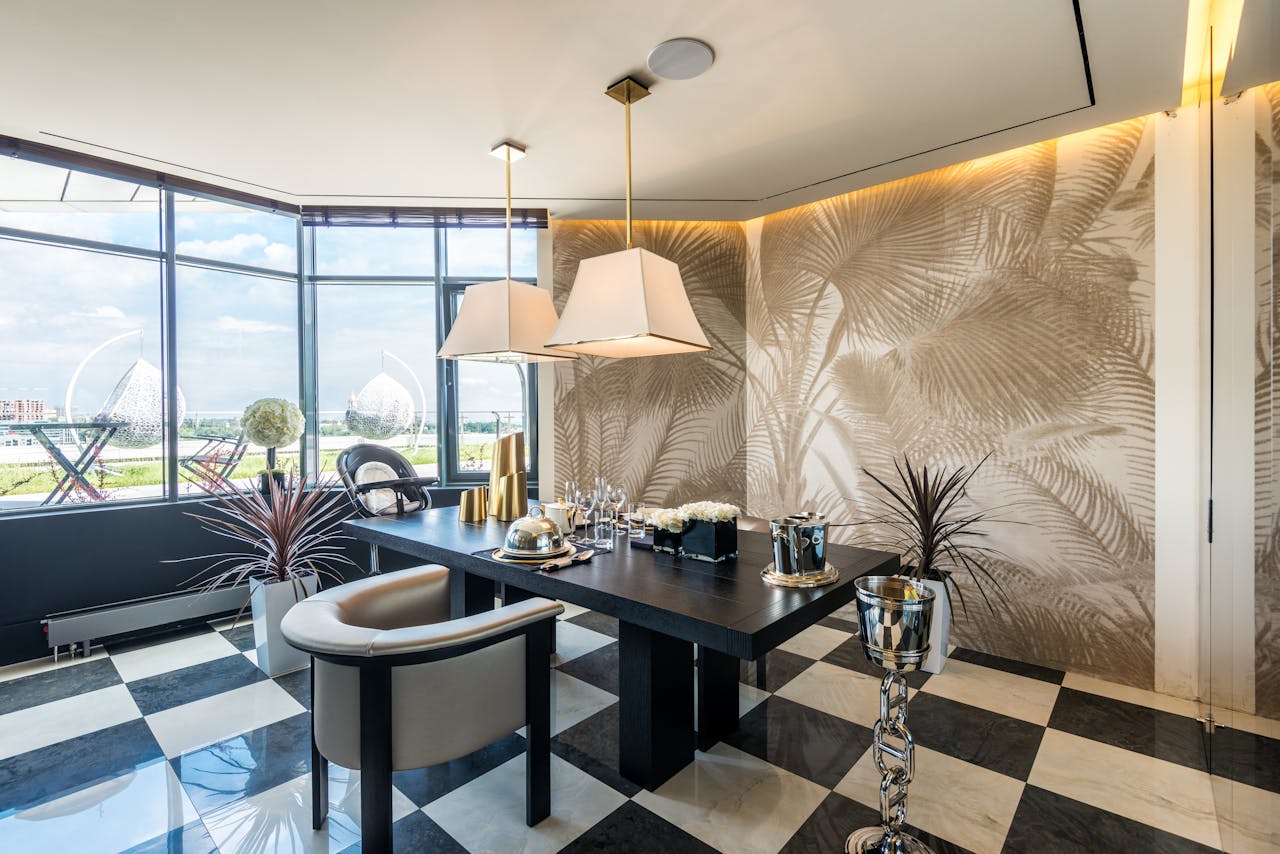
Checkerboard tile showed up in U.S. kitchens as early as the 1920s with linoleum squares. The pattern is back in entryways and laundry rooms. Use 12 by 12 inch vinyl tiles for easy cuts and alignment. Lay a chalk line first so squares stay straight. Black and white is classic, but gray and cream feels softer under LED lights. Mop with pH-neutral cleaner to protect the finish. If you rent, try removable floor decals to test the look without risking your deposit.
4. Mid-Century Wood Tones
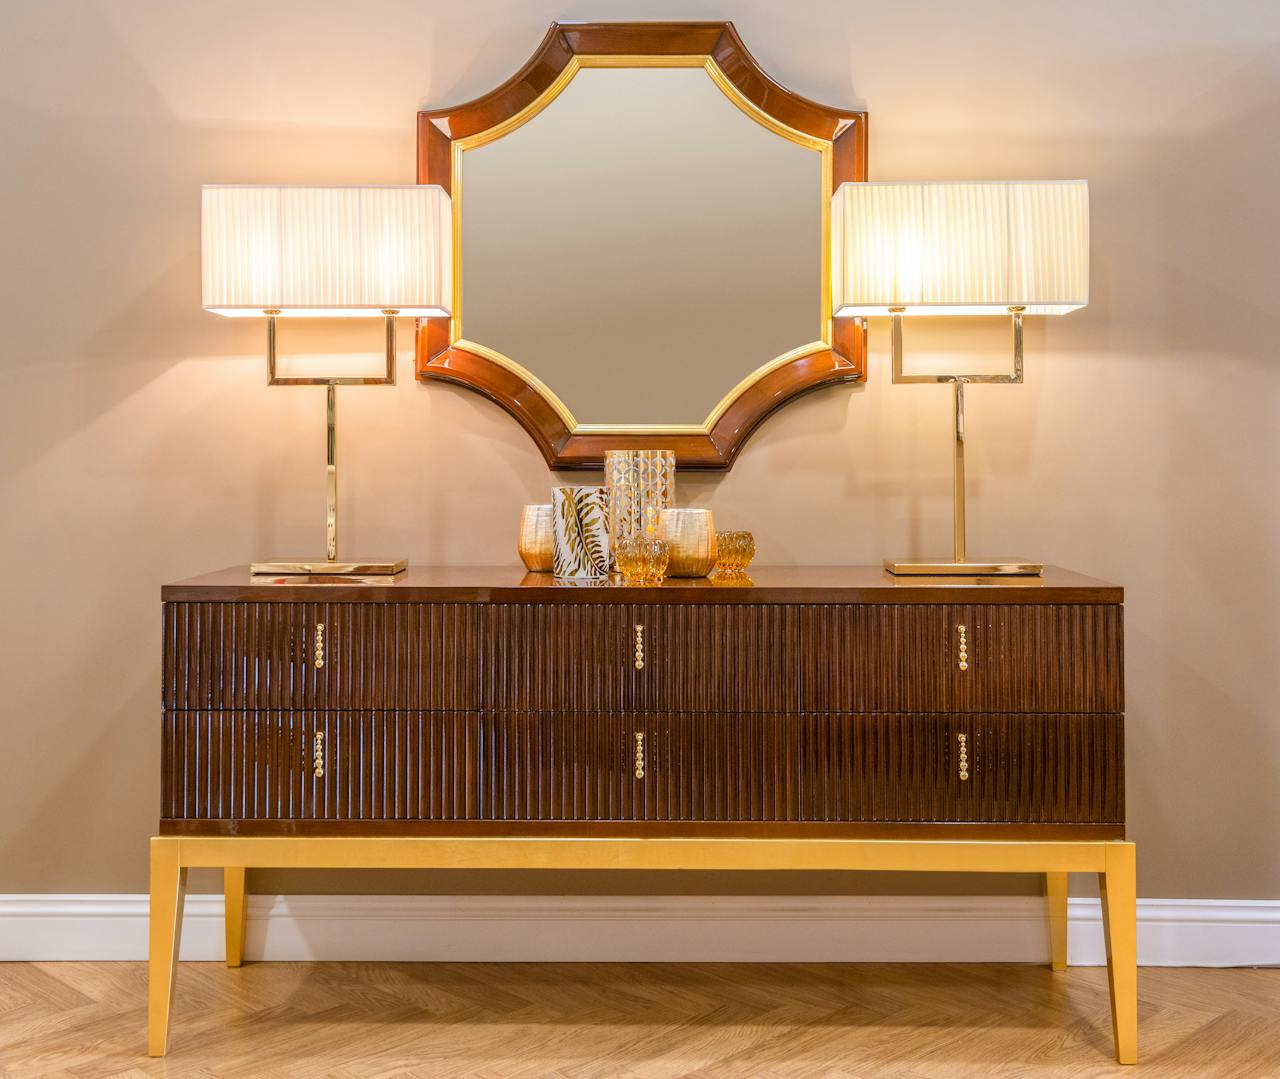
Mid-century walnut and teak peaked between 1955 and 1965. Warm wood balances cool screens and metal desks. A 48-inch vintage dresser can double as a TV stand. Check drawers for dovetail joints, a quality sign. Restore with wipe-on oil, then buff after 24 hours. Avoid heavy sanding on veneer, which is often 1/32 inch thick. Pair wood with white walls and a single bold lamp from the 1960s style, like a mushroom shade, to keep the vibe clean.
5. Bold Wallpaper
Big prints ruled the 1960s and 1970s. The new twist is peel-and-stick rolls that remove cleanly within 12 months on smooth, primed walls. A standard roll covers about 28 square feet. Start with a 4 foot accent strip behind a bed or desk. Line up repeats by number printed on the roll core. Avoid high-steam areas unless labeled washable. If patterns feel loud, pick a 1970s color like avocado or mustard in small doses, then keep bedding neutral.
6. Milk Glass Lighting
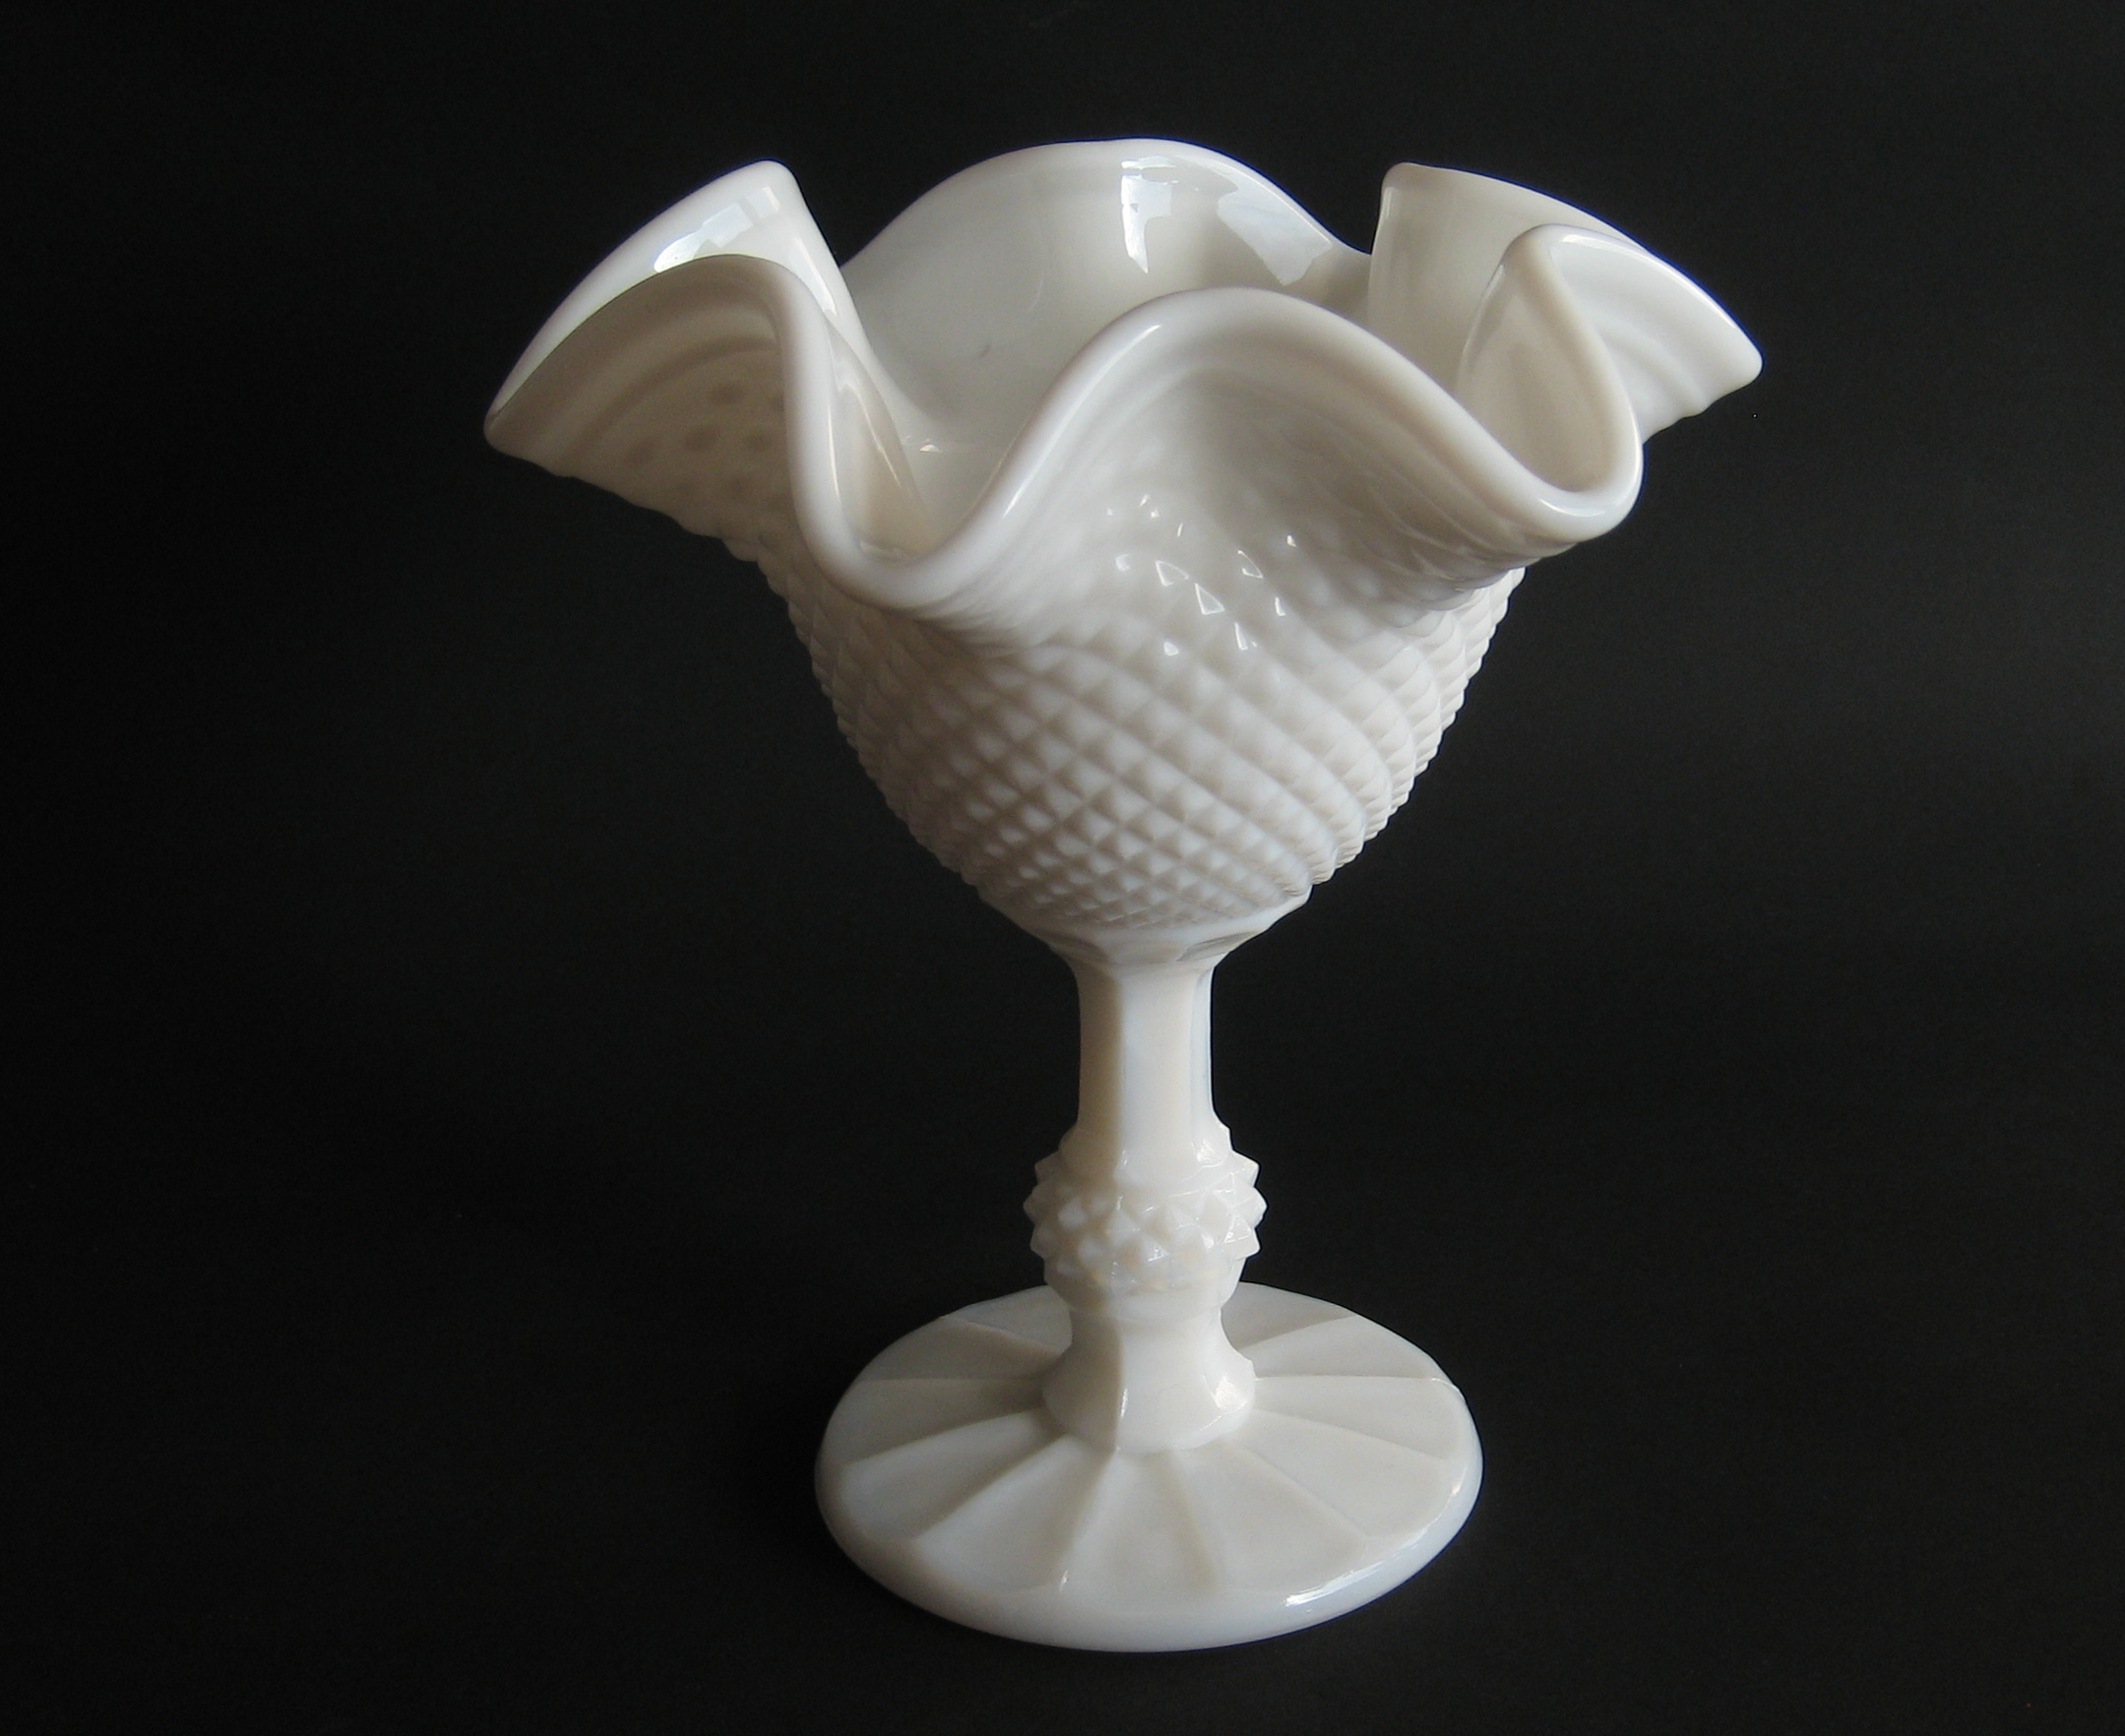
Milk glass globes lit kitchens and halls from the 1890s through the 1930s, then again in the 1950s. The white glass diffuses LEDs evenly. Choose an LED bulb at 2700 K for warm tone, under 800 lumens in small rooms. Many vintage-style fixtures use a standard E26 base, so install is simple. Turn power off at the breaker for safety. One ceiling globe can calm bright corners and hide harsh diodes, giving a soft, old-movie glow.
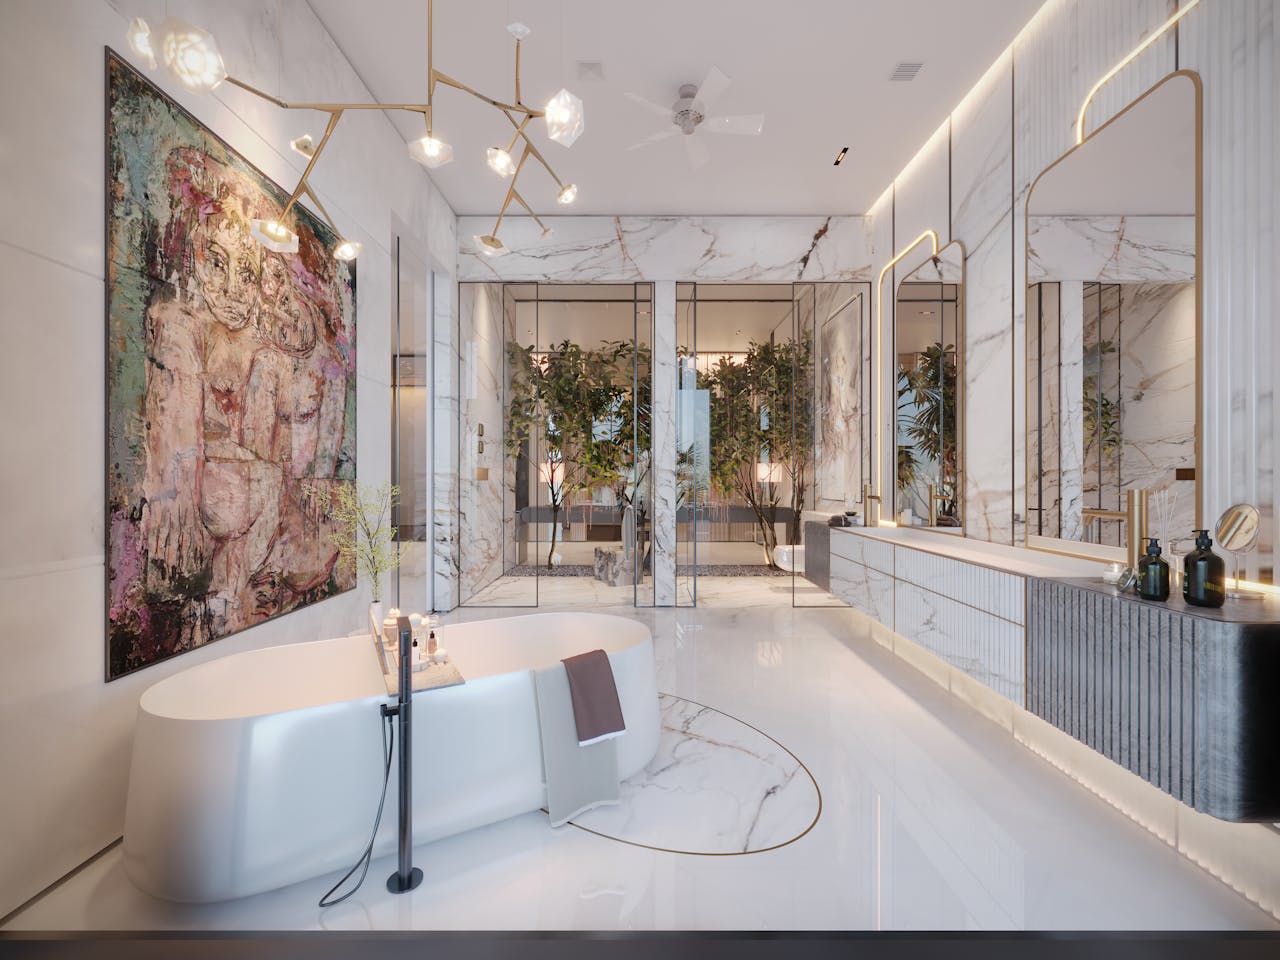
7. Colored Bathroom Accents
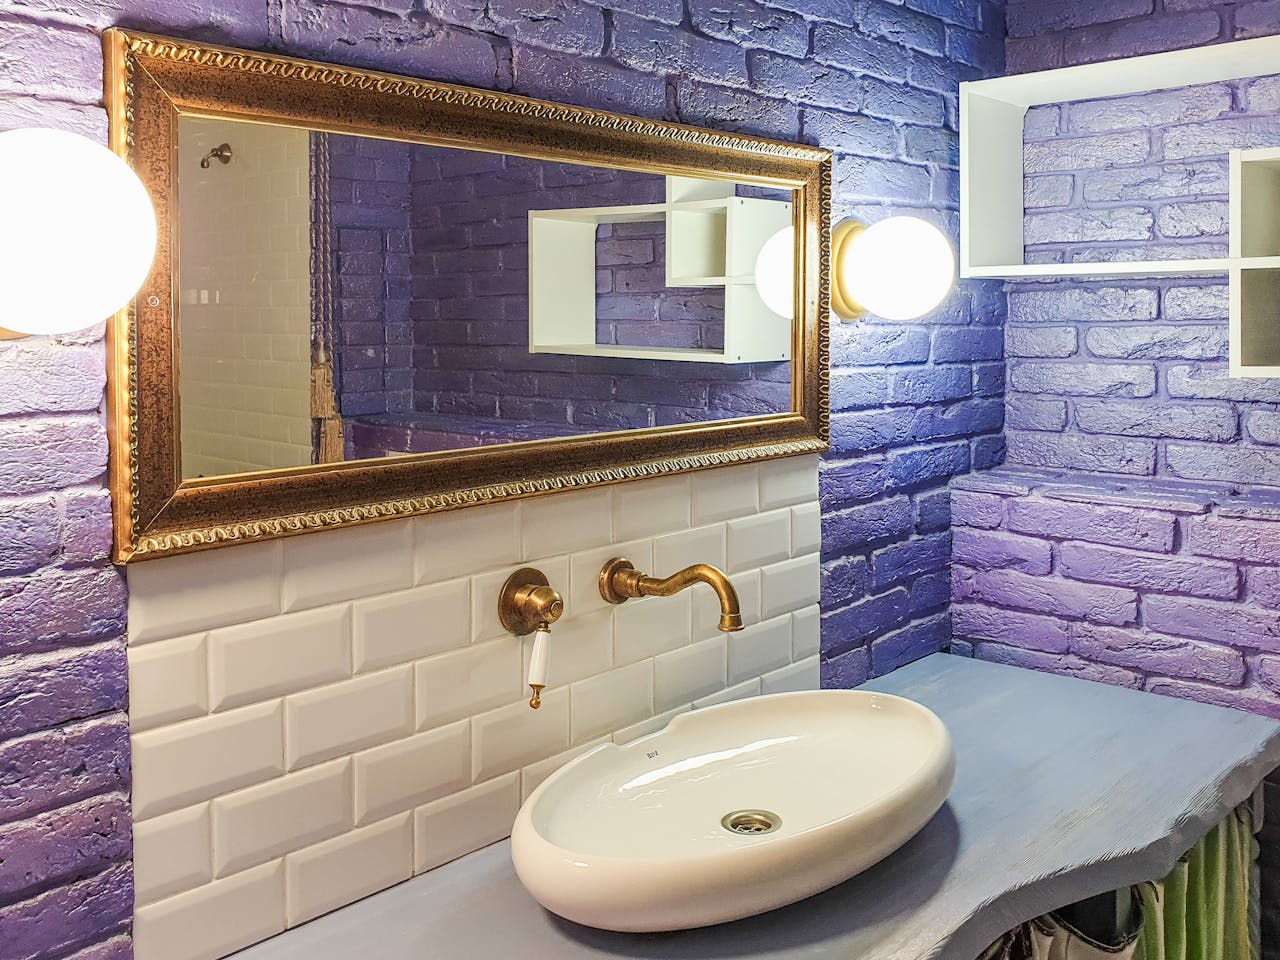
Pastel fixtures from the 1950s, like pink or mint, inspired today’s colored sinks and tile. You can copy the feel with 4 by 4 inch ceramic squares or a painted vanity. Use cabinet paint labeled for moisture and let it cure 7 days before heavy use. Swap in brass-tone hardware for a period hint. Keep grout lines thin, about 1/8 inch, for a tidy grid. Safety note, use anti-slip mats rated for wet floors, since glossy tile can be slick.
8. Clawfoot and Pedestal Details
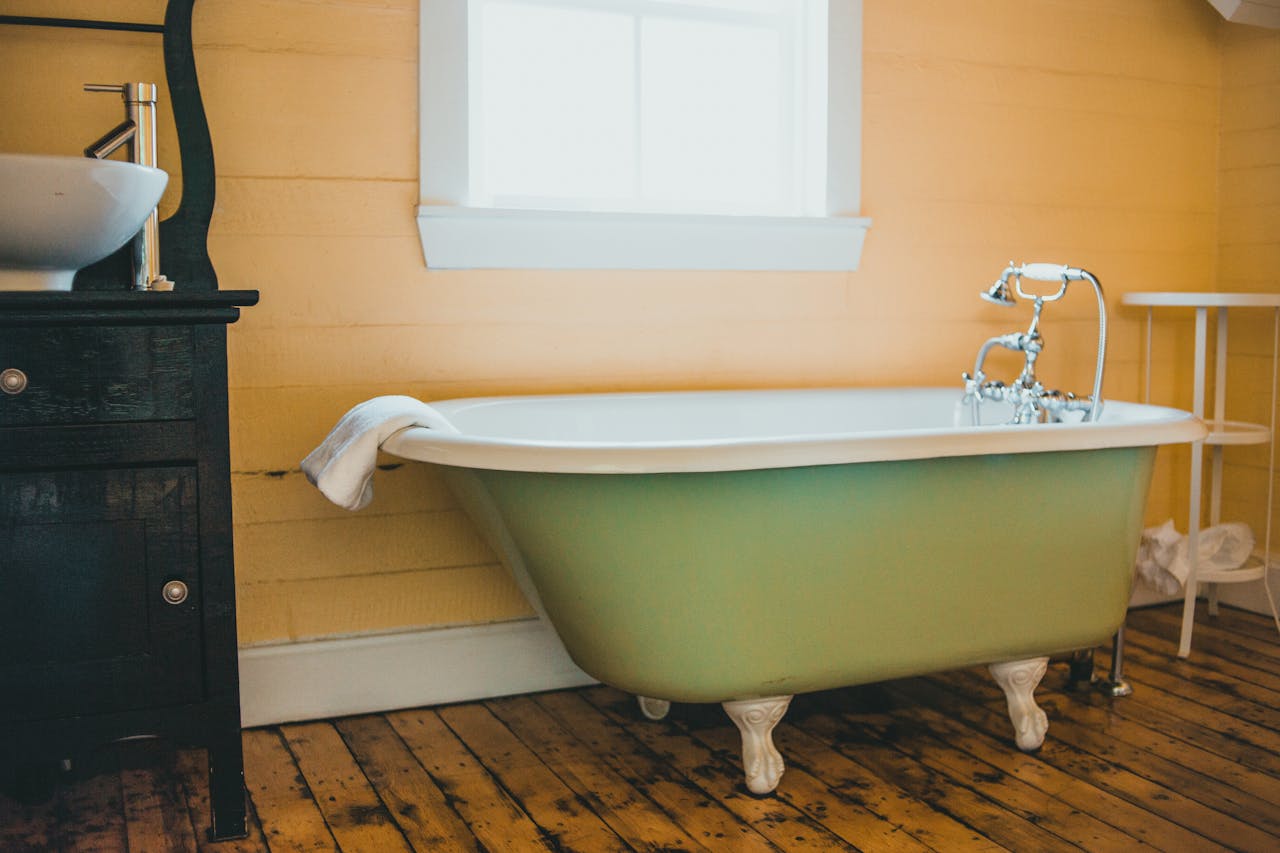
Clawfoot tubs peaked in early 1900s homes, often 60 inches long and cast iron heavy. Full tubs are pricey, so borrow the look with a pedestal sink, curved shower rod, or chrome cross-handle faucets. Measure supply lines at 8 inches on center before buying new taps. Add a 72 inch white shower curtain to echo old hotel baths. Keep metal parts dry after use to prevent spots. The curved shapes soften boxy rooms filled with squared shelves and screens.